JavaでSeleniumを動かす(Firefox geckodriver)
まずはじめに
自分用の( ..)φメモメモです。わかりづらかったらゴメンナサイ。前回はchromeのSelenium自動打鍵について書きましたが、今回はFirefox編です。
私の環境です(執筆時点)
Windows11(64bit)
Eclipse (Pleiades 2024.06.16)
Java8 ※ほんとは17の方が良い
selenium-firefox-drive:3.141.59 (Java17なら4.x.xが使えるが、、)
geckodriver-v0.35.0-win64
Firefox 129
Eclipse (Pleiades 2024.06.16)
Java8 ※ほんとは17の方が良い
selenium-firefox-drive:3.141.59 (Java17なら4.x.xが使えるが、、)
geckodriver-v0.35.0-win64
Firefox 129
インストール
準備(Chrome Web Driver導入)
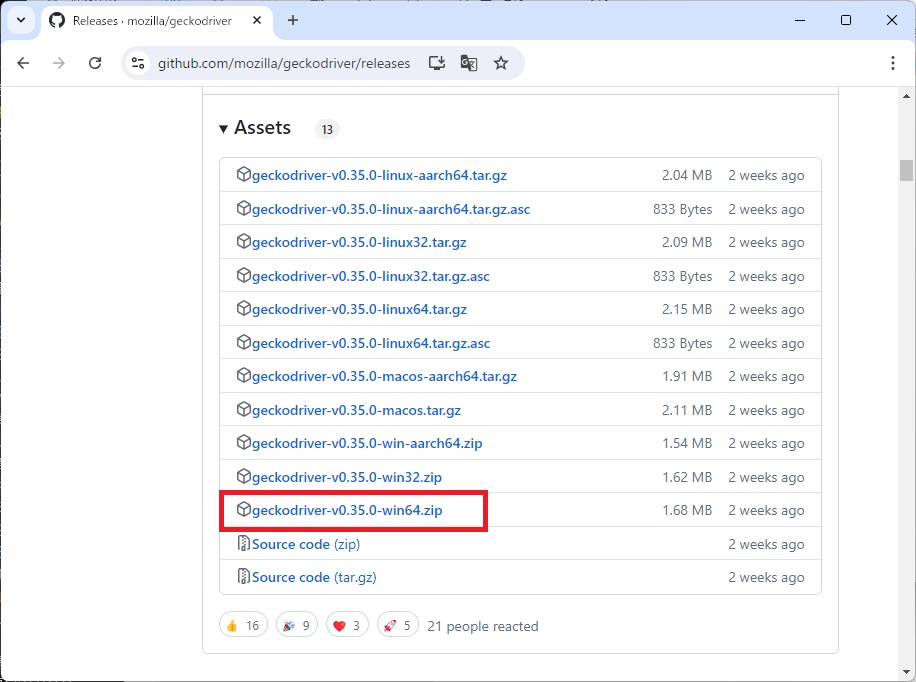
- 最新のgeckodriver(win64)をダウンロードする。
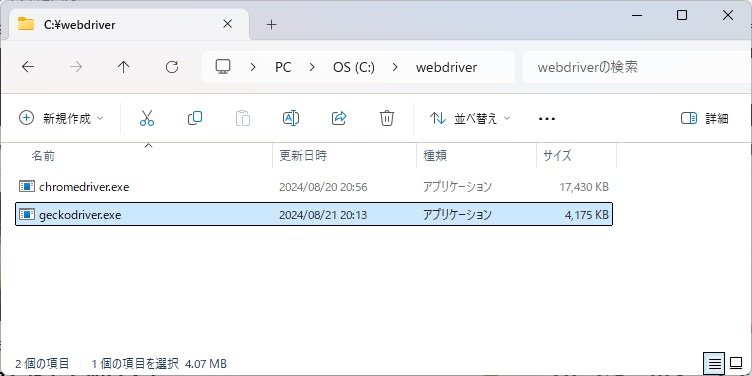
- ダウンロードしたzipファイルを解凍し、chromedriver.exeを任意のフォルダに配置します。
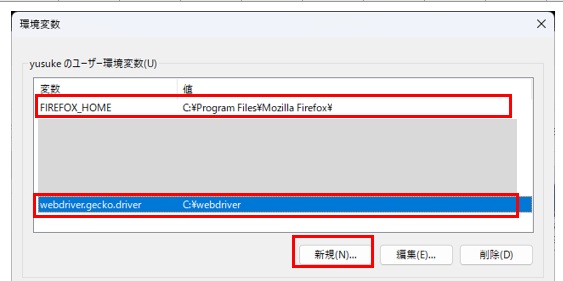
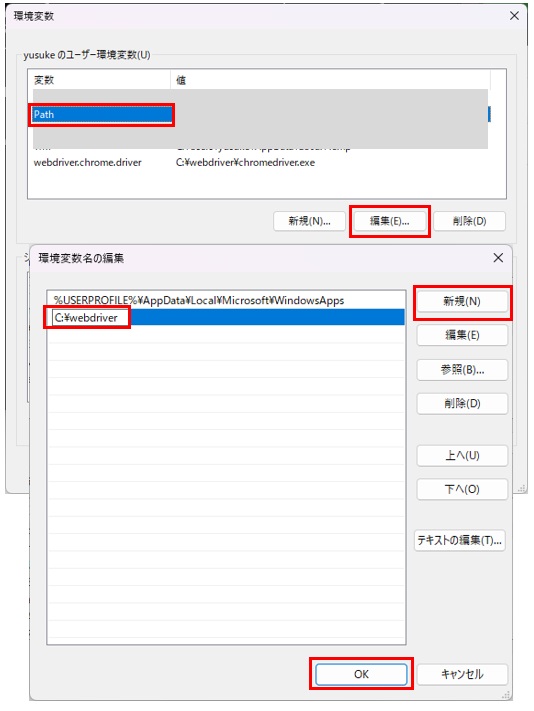
- ユーザ環境変数に以下を追加致します。
- ユーザ環境変数「Path」を編集し、上記ディレクトリにパスを通します。
https://github.com/mozilla/geckodriver/releases
| 変数名 | 値 |
|---|---|
| FIREFOX_HOME | firefox.exeを配置したディレクトリ |
| webdriver.gecko.driver | geckodriver.exeを配置したディレクトリ |
Mavenプロジェクト作成
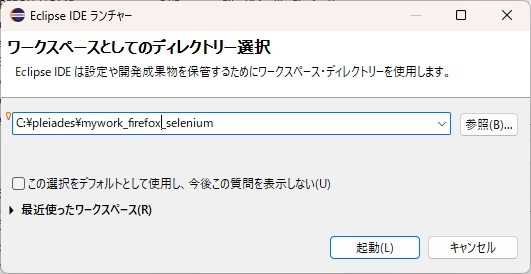
- 任意のワークスペースを指定しEclipseを起動します。
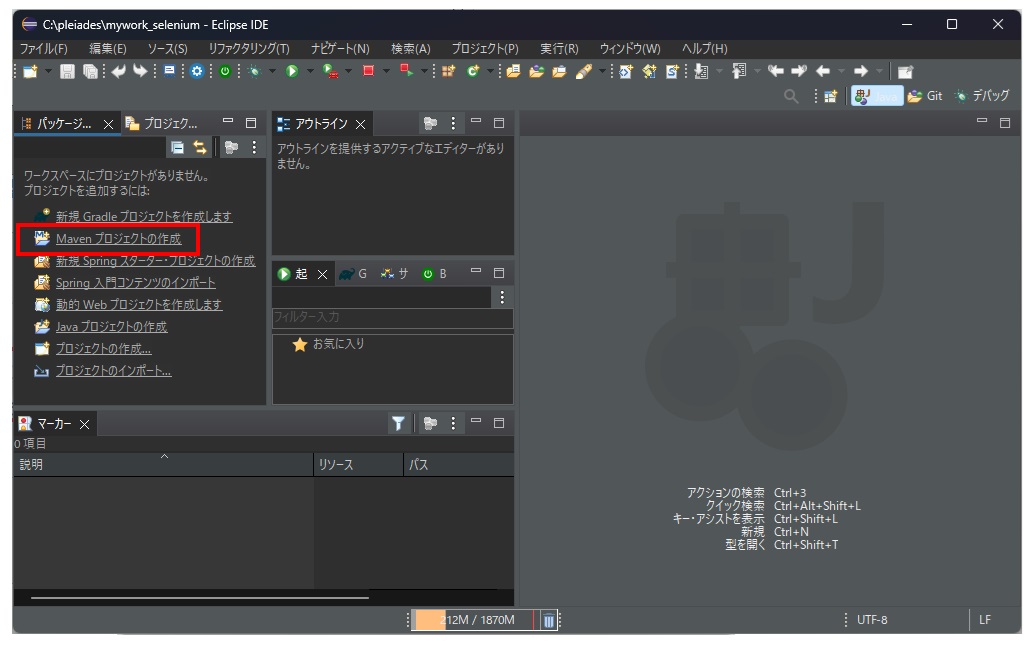
- Mavenプロジェクトを作成します。
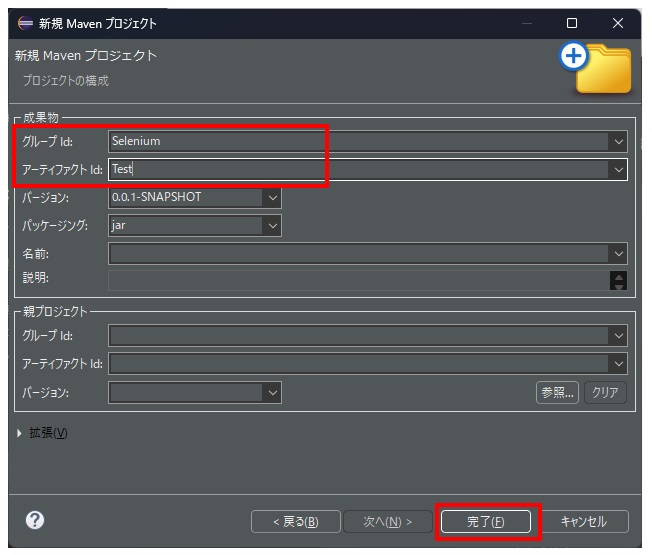
- シンプルなプロジェクトの作成にチェックを入れ、次へを押します。
- 任意のグループIDとアーティファクトを指定し、官僚を押します。
- 以下の通りPom.xmlを、ここから→ここまでを編集します
- 以下の場所に、以下の「DemoSeleniumFirefoxDriver.java」を配置します。
- ファイルの場所
- DemoSeleniumChromeWebDriver.java の内容
- Pom.xmlを右クリックして「実行」>「Maven install」を選択します。
- 先ほど追加したJunitを右クリックして「実行」>「Junitテスト」を選択します。

<project xmlns="http://maven.apache.org/POM/4.0.0" xmlns:xsi="http://www.w3.org/2001/XMLSchema-instance" xsi:schemaLocation="http://maven.apache.org/POM/4.0.0 https://maven.apache.org/xsd/maven-4.0.0.xsd">
  <modelVersion>4.0.0</modelVersion>
  <groupId>Selenium</groupId>
  <artifactId>Test</artifactId>
  <version>0.0.1-SNAPSHOT</version>

    <!--ここから-->
	<properties>
	    <maven.compiler.source>1.8</maven.compiler.source>
	    <maven.compiler.target>1.8</maven.compiler.target>
	</properties>

	<dependencies>
		<!-- Firefox -->
		<dependency>
		    <groupId>org.seleniumhq.selenium</groupId>
		    <artifactId>selenium-firefox-driver</artifactId>
		    <version>3.141.59</version>
		</dependency>
	    <!-- Junit -->
	    <dependency>
	      <groupId>junit</groupId>
	      <artifactId>junit</artifactId>
	      <version>4.12</version>
	      <scope>test</scope>
	    </dependency>
	</dependencies>
    <!--ここまで-->

</project>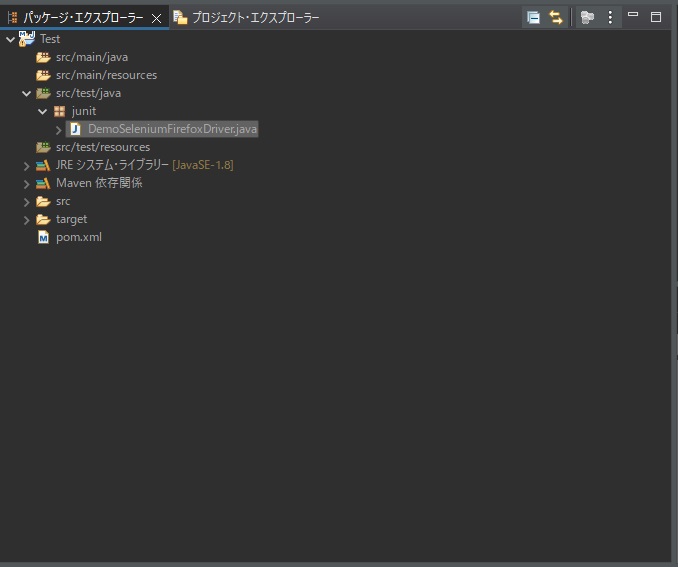
package junit;

import java.util.concurrent.TimeUnit;

import org.junit.Test;
import org.openqa.selenium.By;
import org.openqa.selenium.WebDriver;
import org.openqa.selenium.WebElement;
import org.openqa.selenium.firefox.FirefoxDriver;
import org.openqa.selenium.firefox.FirefoxOptions;

public class DemoSeleniumFirefoxDriver {
    private WebDriver driver;

	@Test
    public void testHelloWorldFirefox() throws InterruptedException {
    	String path = System.getenv("FIREFOX_HOME");
    	FirefoxOptions options = new FirefoxOptions();
    	options.setBinary(path + "/Firefox.exe");
        driver = new FirefoxDriver(options);
        driver.manage().deleteAllCookies();
        driver.manage().timeouts().pageLoadTimeout(40, TimeUnit.SECONDS);
        driver.manage().timeouts().implicitlyWait(30, TimeUnit.SECONDS);
        driver.get("https://www.google.com/");
        WebElement searchBox = driver.findElement(By.name("q"));
        searchBox.sendKeys("Tech Hippo Lab");
        searchBox.submit();
        //Deliberately adding pause
        Thread.sleep(15000);
        driver.close();
    }
}
以上でセレニウムが自動実行してくれるハズです。
