VirtualBoxのUbuntu(18.04)に Laravel6をインストールした時のメモ

環境
Windows10 home(1909)
Virtual Box 6.1.8
Ubuntu 18.04
Ubuntu 18.04のインストール
Ubuntu 18.04のインストールに関しては過去記事をご参照ください。私は以前に作成したVMバックアップをクローンして、今回の記事を書いています。
nginx(エンジンエックス)のインストール
ネットで参考にした方の記事通りに作業していきました。まずubuntu 18.04リポジトリのデフォルトnginxバージョンを確認します。
$ apt-cache policy nginx
nginx:
  インストールされているバージョン: (なし)
  候補:               1.14.0-0ubuntu1.7
  バージョンテーブル:
     1.14.0-0ubuntu1.7 500
        500 http://jp.archive.ubuntu.com/ubuntu bionic-updates/main amd64 Packages
        500 http://jp.archive.ubuntu.com/ubuntu bionic-updates/main i386 Packages
        500 http://security.ubuntu.com/ubuntu bionic-security/main amd64 Packages
        500 http://security.ubuntu.com/ubuntu bionic-security/main i386 Packages
     1.14.0-0ubuntu1 500
        500 http://jp.archive.ubuntu.com/ubuntu bionic/main amd64 Packages
        500 http://jp.archive.ubuntu.com/ubuntu bionic/main i386 Packages
流石に1.14は古いので、nginxリポジトリを追加して、最新の安定版をインストールします。
なお参考にしたサイトはコチラです。
まず作業に必要なものをインストールします。
$ sudo apt install curl gnupg2 ca-certificates lsb-release
nginx (安定版) のリポジトリを追加します。
$ echo "deb http://nginx.org/packages/ubuntu `lsb_release -cs` nginx" \
    | sudo tee /etc/apt/sources.list.d/nginx.list
パッケージ検証用の鍵を追加します。
$ curl -fsSL https://nginx.org/keys/nginx_signing.key | sudo apt-key add -
パッケージリストを更新して、インストールします。
$ sudo apt update
$ sudo apt install nginx
バージョンを確認します。
$ nginx -v
nginx version: nginx/1.18.0
起動します。
$ sudo systemctl start nginx
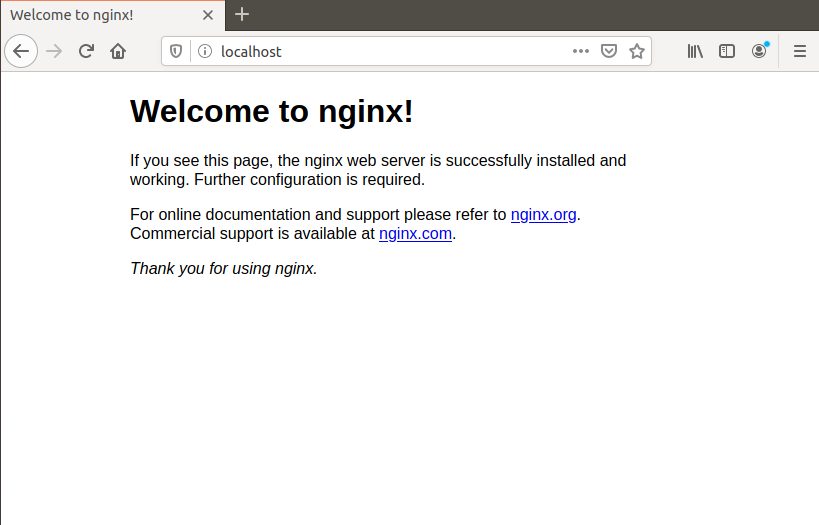
ブラウザでインストールが成功したか確認します。
PHPインストール
php7.4をインストールします。なお最後のインストールは複数行のコマンドである点にご注意ください。
$ sudo apt-add-repository ppa:ondrej/php
$ sudo apt update

$ sudo apt install php7.4 \
    php7.4-bcmath \
    php7.4-common \
    php7.4-curl \
    php7.4-dev \
    php7.4-fpm \
    php7.4-json \
    php7.4-mbstring \
    php7.4-mysql \
    php7.4-xml \
    php7.4-zip
nginxの実行ユーザーに合わせて。ユーザー、グループを 「www-data」 → 「nginx」 に変更します。
/etc/php/7.4/fpm/pool.d/www.conf
user = nginx
group = nginx

~中略~

listen.owner = nginx
listen.group = nginx
サービスを再起動します。
$ sudo systemctl restart php7.4-fpm
composerインストール
以前の記事をご参照ください。
Laravelインストール
Composerのcreate-projectコマンドを実行しLaravelをインストールします。ここでは「/var/www/」配下に「laravel-project-name」というディレクトリ名でインストールしました。
$ cd /var/www
$ composer create-project --prefer-dist laravel/laravel laravel-project-name "6.*"
プロジェクト名ディレクトリ配下の「storage」と 「bootstrap/cache」 ディレクトリをnginx グループにします。なおディレクトリのみを変更するので再帰オプション(-R)は使用せず、findしたディレクトリをxargsで処理しています。
$ cd laravel-project-name
$ find storage/ -type d | xargs sudo chgrp nginx
$ find storage/ -type d | xargs sudo chmod g+s
$ find storage/ -type d | xargs setfacl -d -m g::rwx
$ sudo chgrp nginx bootstrap/cache
$ sudo chmod g+s bootstrap/cache
$ setfacl -d -m g::rwx bootstrap/cache
ユーザーをnginx グループに追加します。
$ sudo usermod -aG nginx $USER
nginxのconfを以下の様に書き換えます。
/etc/nginx/conf.d/default.conf
server {
    listen       80;
    server_name  localhost;

    charset UTF-8;
    access_log  /var/log/nginx/localhost.access.log  main;

    location / {
        root   /var/www/laravel-project-name/public;
        index  index.php index.html index.htm;
    }

    #error_page  404              /404.html;

    # redirect server error pages to the static page /50x.html
    #
    error_page   500 502 503 504  /50x.html;
    location = /50x.html {
        root   /usr/share/nginx/html;
    }

    # proxy the PHP scripts to Apache listening on 127.0.0.1:80
    #
    #location ~ \.php$ {
    #    proxy_pass   http://127.0.0.1;
    #}

    # pass the PHP scripts to FastCGI server listening on 127.0.0.1:9000
    #
    location ~ \.php$ {
        root           /var/www/laravel-project-name/public;
        fastcgi_pass   unix:/run/php/php7.4-fpm.sock;
        fastcgi_index  index.php;
        fastcgi_param  SCRIPT_FILENAME  $document_root$fastcgi_script_name;
        include        fastcgi_params;
    }

    # deny access to .htaccess files, if Apache's document root
    # concurs with nginx's one
    #
    #location ~ /\.ht {
    #    deny  all;
    #}
}
nginxを再起動します。
$ sudo systemctl restart nginx
ブラウザでアクセスしてみます。
無事に表示されました。
ちなみに簡単にできた様に書いていますがconfの設定で少々悪戦苦闘しています。皆様もご自身の環境にあわせて書き換えてください。
